Updates, ideas and resources
Make a blog quickly using Astro and daisyUI
Learn how to create a beautiful and functional blog quickly using the Blog Template for Astro.
Introduction
Creating a blog can be a challenging task, but with Astro and daisyUI, you can set up a stylish and functional blog in no time. Whether you're a seasoned developer or just starting, this guide will walk you through the process of getting your blog up and running using our "Blog Template for Astro."
1. How to Install the Blog Template
First, you'll need to purchase and download the blog template for Astro from the daisyUI store. Once you have the template, follow these steps:
Install Dependencies
npm installRun the Development Server
npm run dev
2. How to Change the Content
Customizing the blog template is simple. Here’s how to change key elements:
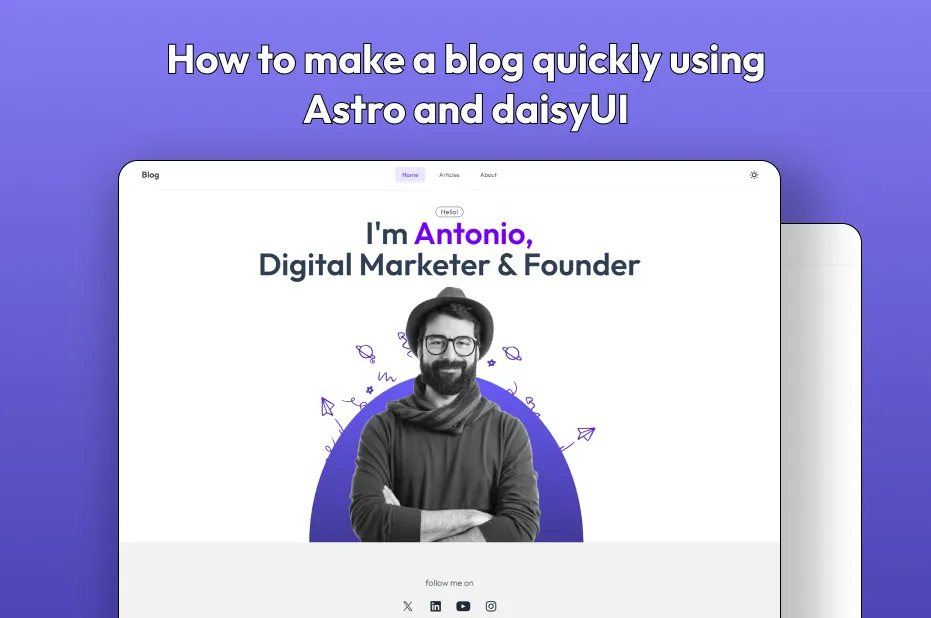
Changing the Hero Section

- Navigate to
src/components/Hero.astro:
This file contains your blog's hero section information. Here, you can edit the blog's name, bio, and picture.
<div class="text-center pt-10">
  <div class="badge badge-outline badge-lg">Hello!</div>
  <h1 class="text-4xl md:text-5xl xl:text-7xl font-semibold brightness-150">
    I'm <span class="text-primary">Antonio,</span>
    <br />
    Digital Marketer & Founder
  </h1>
</div>

<img
  src="/images/antonio.png"
  alt="Antonio"
  class="max-w-xs md:max-w-lg mt-4 absolute"
/>

<img src="/images/bg.png" alt="bg" height="{500}" width="{700}" />- Update Social Media Links
In the same src/components/Hero.astro file, you can edit your social media links:
<div class="flex justify-center lg:justify-start space-x-4 mt-4">
  <a
    class="btn btn-circle btn-md"
    href="https://www.x.com"
    aria-label="twitter"
  >
    <svg viewBox="0 0 24 24" aria-hidden="true" class="h-8 w-8">
      <path
        d="M13.3174 10.7749L19.1457 4H17.7646L12.7039 9.88256L8.66193 4H4L10.1122 12.8955L4 20H5.38119L10.7254 13.7878L14.994 20H19.656L13.3171 10.7749H13.3174ZM11.4257 12.9738L10.8064 12.0881L5.87886 5.03974H8.00029L11.9769 10.728L12.5962 11.6137L17.7652 19.0075H15.6438L11.4257 12.9742V12.9738Z"
        fill="currentColor"
      ></path>
    </svg>
  </a>
  <!-- other social links -->
</div>
Updating the Homepage Content
- Open
src/pages/index.astro:
This file controls your homepage content. Modify it to reflect your desired structure.
---
import Hero from "../components/Hero.astro";
import TopArticles from "../components/TopArticles.astro";
import LatestBlogs from "../components/RecentBlogs.astro";
import NewsletterCard from "../components/NewsletterCard.astro";
import FeaturedPost from "../components/FeaturedPost.astro";
import HomeLayout from "../layouts/HomeLayout.astro";
---

<script>
  import Translate from "$components/Translate.svelte"
</script>

<HomeLayout title="Home" description="Welcome to my blog">
  <div class="w-full">
    <Hero />
    <div class="px-5 xl:px-10">
      <LatestBlogs />
      <FeaturedPost />
      <TopArticles />
      <NewsletterCard />
    </div>
  </div>
</HomeLayout>
3. How to Add a New Blog Post
Adding new blog posts is straightforward:
- Create a New Markdown File
Navigate to the src/content/posts directory and create a new .mdx file. For example:
src/content/posts/my-new-post.mdx- Write Your Post
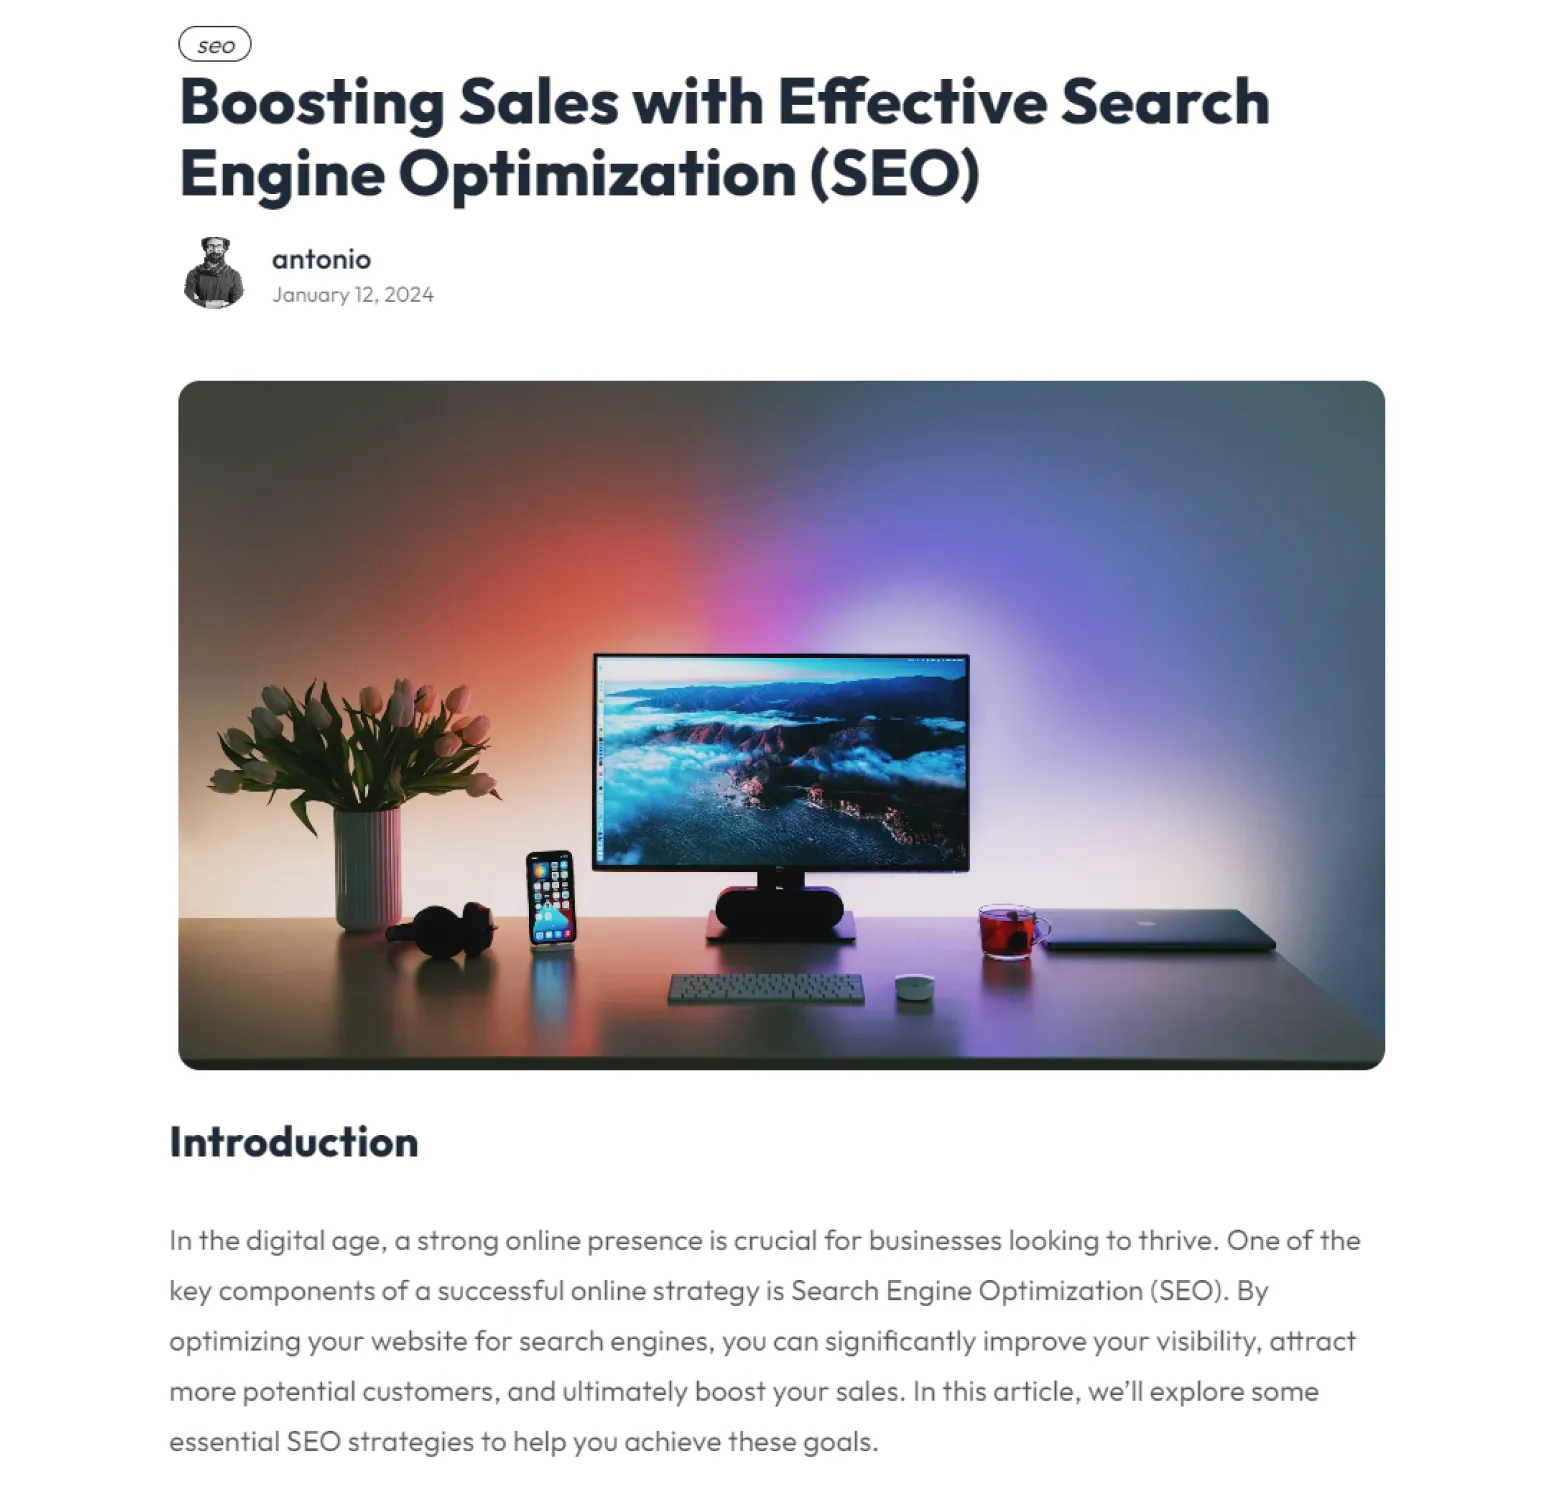
Open the new file and add your content using Markdown. Here's a basic structure:
---
title: Boosting Sales with Effective Search Engine Optimization (SEO)
description: Lorem ipsum dolor sit, amet consectetur adipisicing elit. Hic eos odit sequi minima iure natus, odio tempora sit Lorem ipsum dolor sit.
date: 2024/01/12
image: ./images/post-1.jpg
author: antonio
authorImage: /images/about.jpeg
category: seo
---

<script>
  import Translate from "$components/Translate.svelte"
</script>

## **Introduction**

In the digital age, a strong online presence is crucial for businesses looking to thrive. One of the key components of a successful online strategy is Search Engine Optimization (SEO). By optimizing your website for search engines, you can significantly improve your visibility, attract more potential customers, and ultimately boost your sales. In this article, we'll explore some essential SEO strategies to help you achieve these goals.- Preview the Post
Save the file and run the development server (npm run dev) to see your new post on the blog.
4. How to Build the Template for Production
Once you're happy with your blog, it's time to build it for production:
npm run buildThis command will optimize and generate your site’s static assets, ready for deployment.
5. Deployment Options
Now that your blog is built, you need to deploy it. Here are a few popular options:
Each of these platforms provides a free tier, making it easy to get your blog online without any cost.
Conclusion
With Astro and daisyUI, creating a blog is quick and easy. Our Blog Template for Astro provides a solid foundation, and with a few customizations, you can have your blog up and running in no time, whether you're sharing your thoughts or showcasing your work.