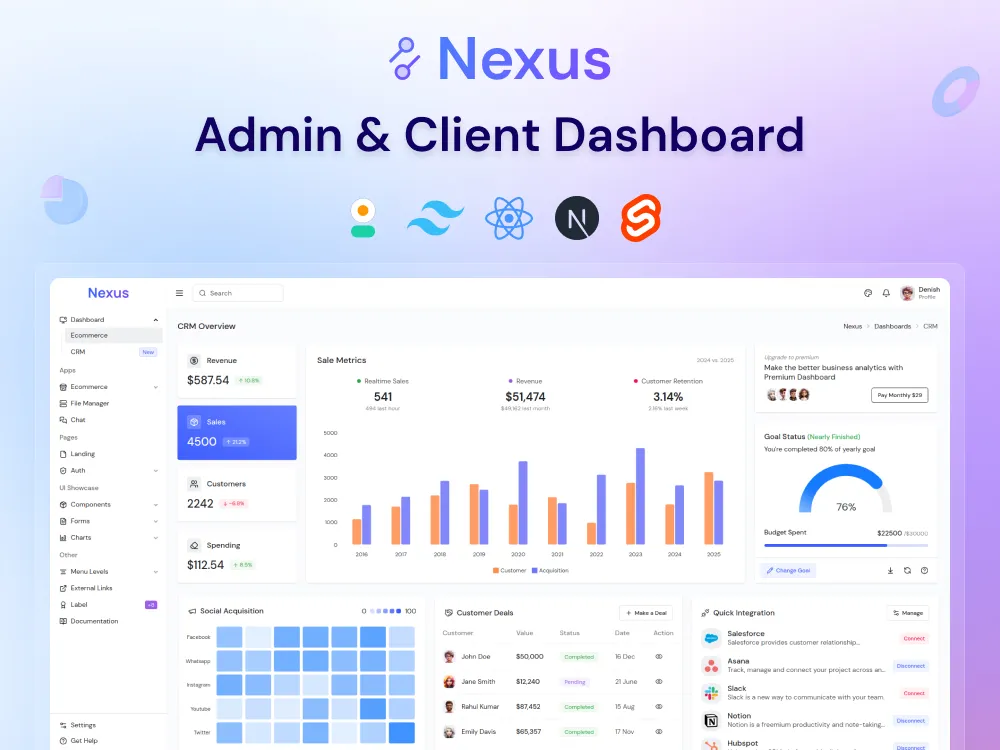
Nexus 2.2 dashboard template is here!
A modern, flexible admin and client dashboard template built with daisyUI. Clean, responsive, and easy to customize and integrate.
Building an admin dashboard isn’t easy. Developers need responsive designs that work across frameworks. Buyers want something simple, flexible, and easy to customize. It’s hard to get all of that right. We solve those problems.
Nexus 2.2 is here! Admin and client dashboard template
- You can purchase the Nexus Dashboard from the daisyUI store and follow installations steps to set it up.
- If you already purchased, get the new version for free from https://app.lemonsqueezy.com/my-orders
- To upgrade to a higher plan, email us at [email protected] to receive a discount code.
Dev Story
It started with React and Next.js, building out the basics like an ecommerce dashboard, file manager, and a few core components. Then came the HTML version, more ecommerce pages, and chart support. SvelteKit followed with a CRM dashboard, cleaner forms, and improved components.
Now with v2.2, it's moving into Gen AI with new pages, a fresh dashboard, and a built-in calendar.
Each update includes the latest dependencies and fixes for any bugs we've found or that others have reported. Check out the official Nexus docs for the changelog and upcoming plans.
Installation
Nexus supports all Node.js versions above 18 and has been thoroughly tested. It also works seamlessly with all package managers (npm, yarn, bun), so you can use your preferred one.
Install project dependencies:
npm installStart the development server (This will run your project in development mode):
npm run devBuild for production:
npm run buildPreview the production build:
npm run previewCustomization
Changing the logo
To change the logo, replace the following images with your own.
/public/images/logo/logo-light.png/public/images/logo/logo-dark.png
Customizing daisyUI themes
/styles/daisyui.css contains the daisyUI plugin and themes. You can add or modify themes and their options, including layout colors (background, sidebar, and topbar).
@plugin "daisyui" {
  /* daisyUI options */
}

@plugin "daisyui/theme" {
  name: "light";

  /* update: primary */
  --color-primary: #167bff;
  --color-primary-content: #ffffff;
  /* ... */

  /* update: layout */
  --layout-background: #fafbfc;
  --layout-sidebar-background: #ffffff;
  --layout-topbar-background: #ffffff;
}

/* add: new theme here */
We've customized some daisyUI styles. To match Nexus exactly, copy styles/custom/components.css into your project.
Change the font
/styles/typography.css contains all typography-related styles. We use Google Fonts (@import url('...')) for the font family, which you can change to your preference.
/* update: font family url */
@import url("https://...");

@theme {
  /* update: font family variable */
  --font-body: "DM Sans", sans-serif;

  /* update: font size */
  --text-sm: 14px;
  --text-base: 16px;

  /* add: more options related to font  */
}
Customizing the dashboard layout
/styles/custom/layout.css contains the layout CSS, where you can modify all aspects related to the admin layout, including the sidebar, topbar, rightbar, and content area.
:root {
  /* update: sidebar width,as you want */
  --layout-sidebar-width: 256px;
}

/* update: layout related styles ... */
Customizing styles
Inside /styles/custom/** folder:
layout.csscontains the styles for the topbar, sidebar, rightbar.animation.cssincludes all animation keyframes and utilities.components.csscontains minor overrides to daisyUI components. If you don't need any overrides, you can remove this file.plugins.csshandles plugin overrides, ensuring compatibility with other plugins' themes, matching Nexus and daisyUI styles.iconify.jsis the plugin for Iconify, allowing you to add additional icon sets.
How to use style into your project
Note: All styles (CSS) are defined in the styles/** folder, so you can refer to that for styling and use them directly in your project.
Ensure that Tailwind CSS 4 and daisyUI 5 are properly installed and functioning correctly.
Include a specific theme
If you need to use the material theme in your project, copy the following lines from styles/daisyui.css into your project.
@plugin "daisyui/theme" {
  name: "material";
  color-scheme: light;
  --color-primary: #167bff;
  /* ... */
}
You can now apply the theme by setting the data-theme="material" attribute on the HTML tag.
More details
For detailed information on specific topics such as dependencies, framework integration, roadmap, changelog, and more, visit official Nexus documentation
Every project needs a dashboard
Nexus, built with daisyUI, makes dashboard creation simple and efficient. It’s easy to customize, integrates smoothly, and saves you valuable time. Try it today!
We value your feedback! Share your thoughts by filling out the feedback form
Need help?
Got questions or need help? Join our Discord for support and troubleshooting, or just drop us an email at [email protected]